Easy October Beanie: Free Beginner Crochet Pattern
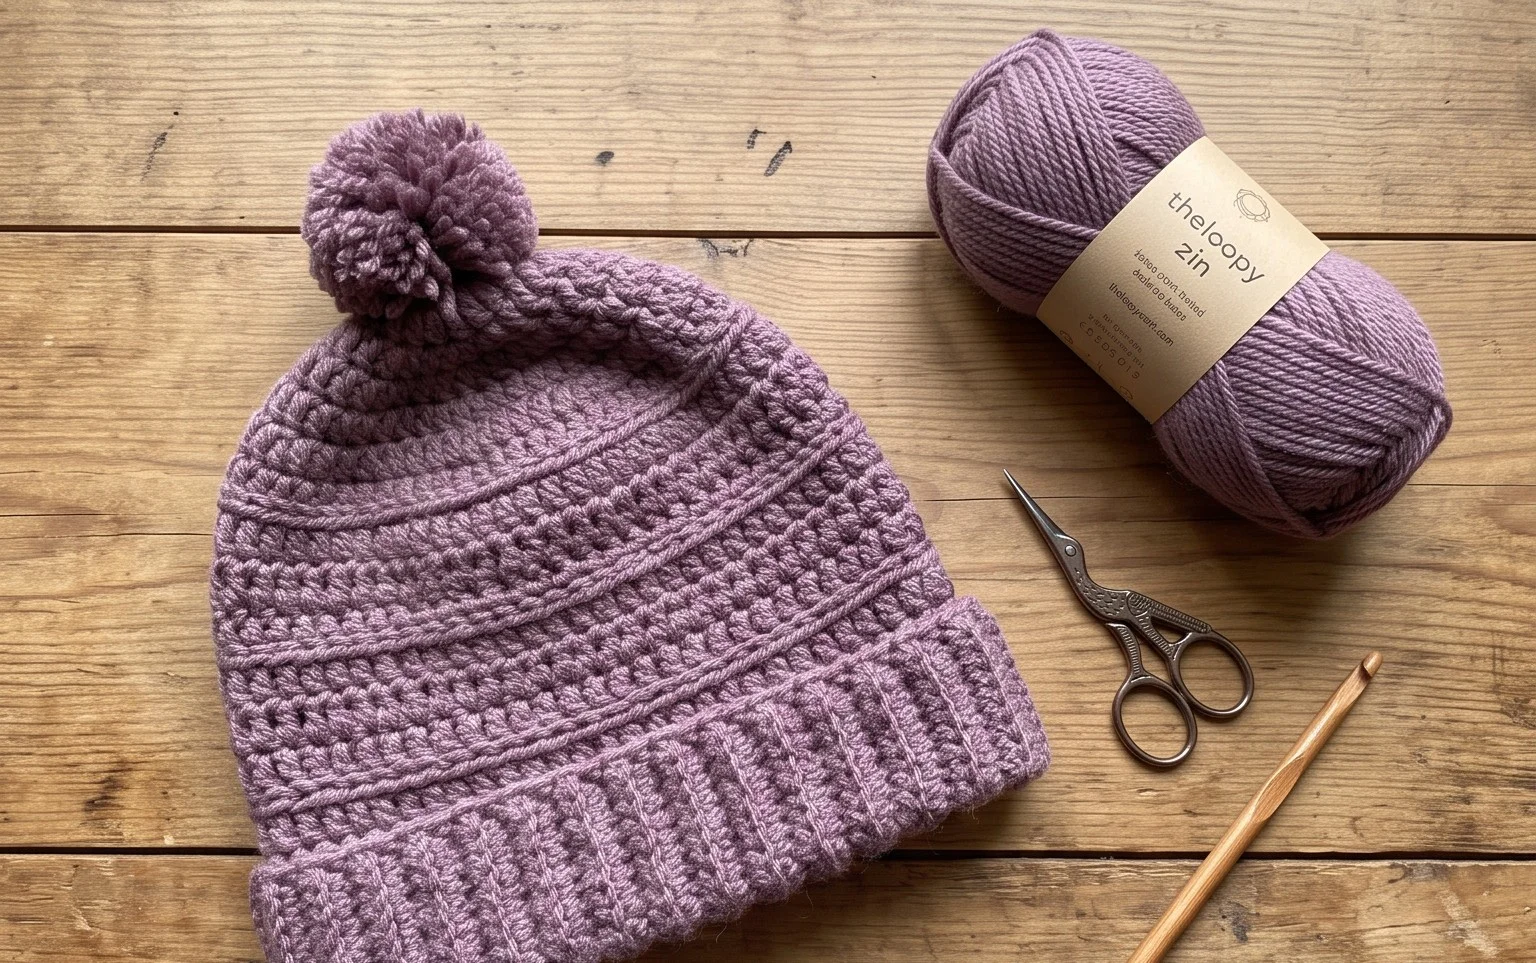
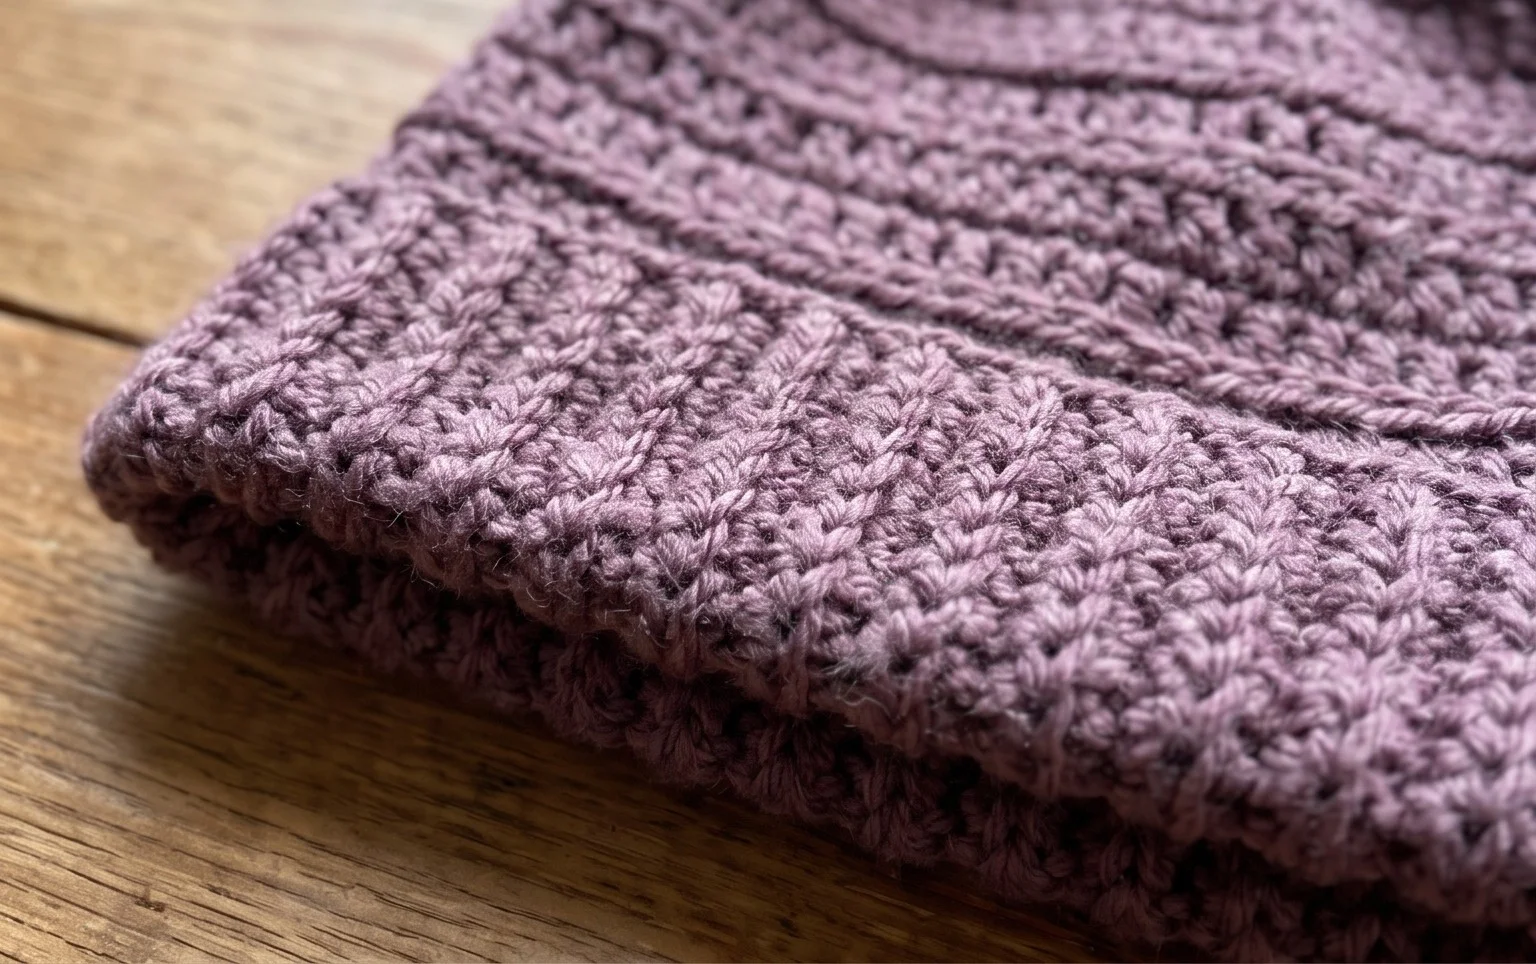
When the temperature drops and the morning frost arrives, reaching for a cozy handmade hat provides the most comfort. This specific project features a thick, squishy fabric created through the repetitive moss stitch, which feels incredibly soft against your forehead and ears. It works well for those learning to shape garments and anyone needing a quick gift during the busy autumn months. You will learn how to maintain consistent tension while working in joined rounds, ensuring your final piece fits comfortably. Completing this simple design gives you a practical accessory that keeps you warm until spring arrives.
Why Crocheters Love It
This beginner-friendly project creates a classic crochet beanie that uses the timeless moss stitch to create a dense, squishy fabric. Because it works from the bottom up in joined rounds, you can easily try the hat on as you go to ensure a custom fit. The repetitive nature of the moss stitch makes this an ideal project for relaxing while watching television or listening to podcasts. Its unisex aesthetic makes it a reliable gift choice for friends and family members of all ages.
I finished this hat in one weekend using up some leftover worsted yarn, and the instructions were incredibly easy to follow for a first-time hat maker.
— Sarah, casual crafter
Pattern Overview & Skill Level
- Skill Level: Beginner
- Approximate Time: 3 to 5 hours
- Construction: Worked in joined rounds from the bottom brim up to the crown
- Finished Dimensions & Sizing: Adult medium (fits head circumferences of 21–23 inches)
Materials & Supplies Needed
- Yarn: Worsted #4 weight, approximately 200 yards. Wool blends provide the best elasticity for headwear.
- Hook Size: 5.0 mm (H-8) for the body and a 4.5 mm (G-7) for the brim to ensure a snug fit.
- Notions: Tapestry needle for weaving ends, stitch marker for keeping track of the round start, and scissors.
- Safe yarn substitutions: Acrylic yarn is a durable, machine-washable alternative, though it lacks the natural memory and warmth of wool. Using cotton yarn will result in a much heavier, less stretchy hat that may sag over time.
Stitch Guide & Abbreviations (US Terms)
- ch = chain
- sc = single crochet
- sl st = slip stitch
- st/sts = stitch/stitches
- sk = skip
- Moss Stitch: A pattern of (sc, ch 1, skip 1 stitch) repeated across the row.
- Join: Slip stitch into the first stitch of the round to connect the circle.
Step-by-Step Pattern Instructions
Brim
Use the smaller hook (4.5 mm) for the brim to create tension that prevents the hat from stretching out too much over time.
- Row 1: Ch 80, join to form a ring being careful not to twist the chain.
- Rows 2–10: Ch 1, sc in each st around, join to first sc (80 sts).
Hat Body
Switch to the larger 5.0 mm hook to create a softer, more comfortable drape for the body of the hat.
- Rnd 11: Ch 1, sc in next st, ch 1, sk 1 st. Repeat from * to * around, join to first sc (80 sts).
- Rnds 12–40: Ch 1, sc in the first ch-1 space, ch 1, sk 1 sc, sc in the next ch-1 space. Repeat from * to * around, join (80 sts).
Crown Shaping
Decreasing the stitch count gradually pulls the hat together at the top.
- Rnd 41: Sc in ch-1 space, sk next sc, sc in next ch-1 space. Repeat around (40 sts).
- Rnd 42: Sc in every other stitch around (20 sts).
- Rnd 43: Sc in every other stitch around (10 sts).
Finishing
Cut the yarn leaving a 10-inch tail. Use your tapestry needle to weave the yarn through the remaining 10 stitches, pulling tightly to cinch the hole closed. Secure the end on the inside of the hat and trim any excess.
Care & Washing Instructions
- Hand wash your finished hat in cool water using a mild wool-specific detergent.
- Gently press the item between two towels to remove excess moisture; never wring or twist the fabric.
- Lay the hat flat on a dry towel and reshape it to its original dimensions while damp to ensure it dries symmetrically.
Pro Tips & Common Mistakes to Avoid
Check your tension regularly by holding the brim against your forehead. If it feels too loose, go down a half-hook size for the brim rows. Always place a stitch marker in the first stitch of every round to avoid accidentally adding extra stitches, which is the most common reason for uneven edges. Weave your yarn ends into the back of the work by splitting the plies of the yarn with your needle; this locks the tail in place so it does not work itself out during washing. If you choose to increase the hat size for a larger head, add chains in multiples of two, but remember that this will require approximately 15% more yarn.
Frequently Asked Questions
Can I substitute a different yarn weight?
Changing to a DK or Bulky weight will significantly alter the finished size and drape. If you must substitute, you will need to adjust your starting chain length and increase the number of rounds to compensate.
Is this pattern suitable for complete beginners?
Yes, this pattern only requires basic single crochet stitches and chain stitches. The repetitive nature makes it an excellent project for practicing consistent tension.
Can I sell the hats I make from this pattern?
You are welcome to sell items made from this pattern as long as you credit the original design and use your own photographs to market your finished work.
How do I prevent the seam from spiraling?
The moss stitch is prone to slight spiraling if you do not join your rounds correctly. Always join your rounds with a slip stitch before starting your next round with a chain, rather than working in a continuous spiral.
Your finished hat serves as a reliable layer for chilly autumn walks or brisk mornings at the market. To change the look, try working the brim in a contrasting solid color or hold two strands of lighter weight yarn together for a thicker, marled appearance. Sharing a photo of your work helps other makers find inspiration for their own projects. Please feel free to browse the rest of the blog for more accessible designs and seasonal ideas that keep your hands busy throughout the upcoming colder months.