Easy Macrame Christmas Decorations: 18 Free Patterns
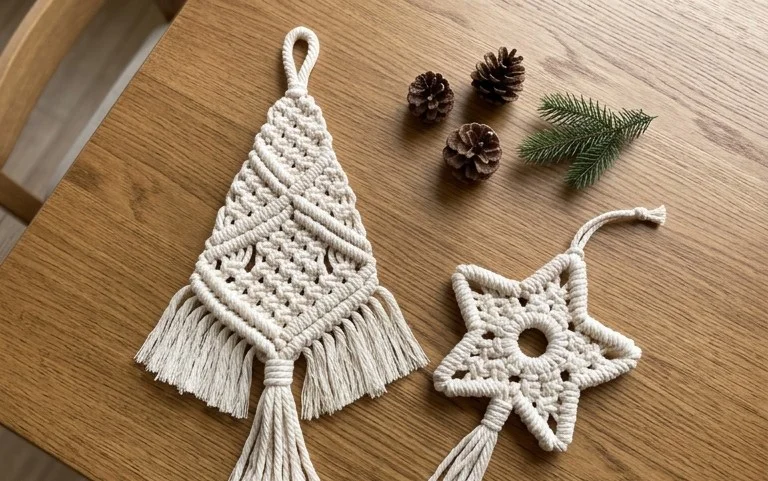
Knotted cotton cord creates a natural and rustic texture that brings a calm warmth to any holiday tree or mantlepiece. These macrame projects provide a tactile escape for those tired of staring at screens, as the repetitive motion of tying square knots and lark’s head hitches quickly becomes meditative. Whether you are crafting a simple ornament to hang from a pine branch or a larger wall hanging for your living room, these designs accommodate your skill level. You will master basic tension control and precise trimming techniques while assembling handmade gifts that hold more personality than anything bought in a store.
Why Crocheters Love It
The Amigurumi Mushroom is a quick-to-complete project that uses minimal yarn, making it an ideal choice for clearing out small remnants from your scrap bin. Because the structure relies on simple increases and decreases worked in continuous rounds, it is an excellent way for beginners to practice shaping 3D objects without the frustration of complex seams. The finished item serves as a charming addition to a nursery display, a nature-themed desk accessory, or a playful element in a larger woodland-themed collection.
The construction uses standard single crochet stitches, which provide a tight, dense fabric. This density ensures that your fiberfill stuffing remains hidden and does not poke through the gaps. You can complete a single mushroom in under an hour, which is helpful if you are working on a batch of items for a craft fair or gift-giving.
This was the first amigurumi project I ever finished. The instructions for the increase and decrease rounds were very clear, and I loved how quickly it came together in one evening.
— Sarah, beginner crocheter
Pattern Overview & Skill Level
- Skill Level: Beginner
- Approximate Time: 45–60 minutes
- Construction: Worked in continuous rounds from the top of the cap down and from the base of the stem up; pieces are sewn together
- Finished Dimensions & Sizing: Approximately 3 inches tall and 2.5 inches wide
Materials & Supplies Needed
- Yarn: Worsted weight (#4) acrylic or cotton blend; 15 yards of red, 15 yards of white, and small amounts of scrap yarn for decorative spots
- Hook Size: 3.5 mm / E-4
- Notions: Tapestry needle, stitch markers, fiberfill stuffing, scissors
- Safe yarn substitutions: You may use DK weight (#3) yarn to create a smaller mushroom, or bulky weight (#5) to increase the size. Adjust your hook size accordingly to maintain a tight gauge so the stuffing does not show through.
Stitch Guide & Abbreviations (US Terms)
- MR: Magic Ring
- ch: Chain
- sc: Single crochet
- inc: Increase (work 2 sc in the same stitch)
- dec: Invisible decrease (insert hook into the front loops of the next two stitches, yarn over, pull through both, yarn over, pull through two remaining loops)
- sl st: Slip stitch
- st(s): Stitch(es)
Step-by-Step Pattern Instructions
Mushroom Cap
Using red yarn, work in continuous rounds. Place a stitch marker at the start of every round to keep track of your position.
- Rnd 1: 6 sc in MR (6 sts)
- Rnd 2: Inc in each st around (12 sts)
- Rnd 3: [1 sc, inc] 6 times (18 sts)
- Rnd 4: [2 sc, inc] 6 times (24 sts)
- Rnd 5: [3 sc, inc] 6 times (30 sts)
- Rnd 6-9: Sc in each st around (30 sts)
- Rnd 10: [3 sc, dec] 6 times (24 sts)
- Rnd 11: [2 sc, dec] 6 times (18 sts). Fasten off, leaving a long tail for sewing.
Mushroom Stem
Using white yarn, work in continuous rounds.
- Rnd 1: 6 sc in MR (6 sts)
- Rnd 2: Inc in each st around (12 sts)
- Rnd 3: [1 sc, inc] 6 times (18 sts)
- Rnd 4-7: Sc in each st around (18 sts)
- Rnd 8: [1 sc, dec] 6 times (12 sts). Fasten off, leaving a long tail for sewing.
Assembly
Stuff the stem firmly with fiberfill until it holds a cylindrical shape. Lightly stuff the cap. Using the long tail from the stem, sew the stem to the center of the underside of the cap. Use the white yarn to embroider small dots onto the red cap using a simple French knot or a few straight stitches to mimic the look of natural spots.
Care & Washing Instructions
- Hand wash in cool water with mild detergent to prevent the stuffing from clumping or shifting.
- Do not wring or twist the piece; instead, gently press out excess moisture with a clean towel.
- Lay flat on a dry surface away from direct sunlight to maintain the shape and color of the yarn.
Pro Tips & Common Mistakes to Avoid
- Maintain a consistent tension throughout the project to ensure the stitches are uniform. If you find your gaps are too large, drop down one hook size.
- Always use a stitch marker at the first stitch of every round. It is easy to lose count in continuous spirals, and a marker prevents the common mistake of missing a stitch.
- When weaving in your ends, run the tapestry needle through the back loops of the interior stitches to hide the yarn tails securely without creating visible bumps on the exterior.
- If you wish to make the mushroom larger, add more increase rounds at the beginning of the cap and stem. Note that increasing the diameter will require significantly more yarn and extra stuffing to maintain a firm structure.
Frequently Asked Questions
Can I use cotton yarn instead of acrylic?
Yes, cotton yarn works well for amigurumi because it has less stretch and produces very defined, clean stitches. You may find your hands tire faster due to the lack of elasticity in the fiber.
How do I keep my stitches from being too loose?
Try using a hook that is 0.5 mm or 1.0 mm smaller than the size recommended on your yarn label. This creates a smaller gap between stitches, which is necessary to keep the fiberfill stuffing inside.
Is this pattern suitable for complete beginners?
This pattern is ideal for beginners who have mastered the basic single crochet stitch and are ready to learn how to work in the round and perform simple shaping.
Am I allowed to sell the mushrooms I make from this pattern?
You are welcome to sell finished items made from this pattern as long as you credit the original design. Please use your own photographs rather than copying images from this tutorial.
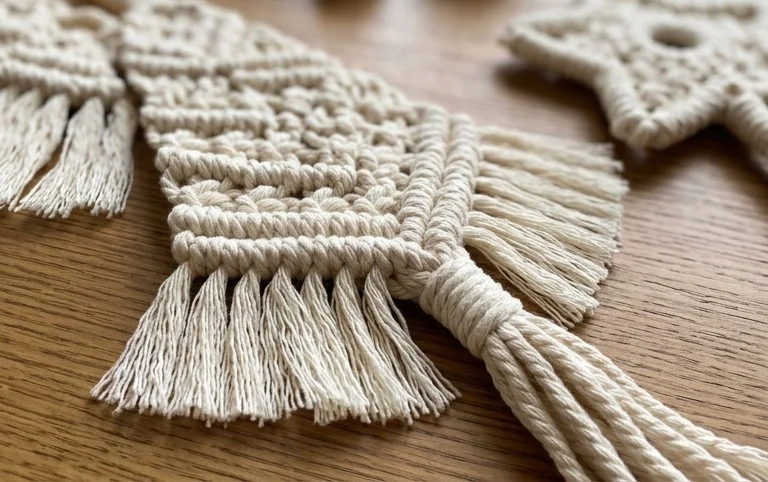
Your finished knotwork brings a handcrafted warmth to the season that mass-produced decorations simply cannot match. You can adjust the scale of your ornaments by swapping standard cotton cord for thinner jute twine or adding wooden beads in metallic shades for extra shimmer. Share your progress photos on your favorite social media platforms so other makers can see your unique color choices. Browse through the rest of the blog archives for more free tutorials to continue building your collection of holiday projects throughout the winter months.