Easy Crochet Coaster Free Pattern: Beginner Guide
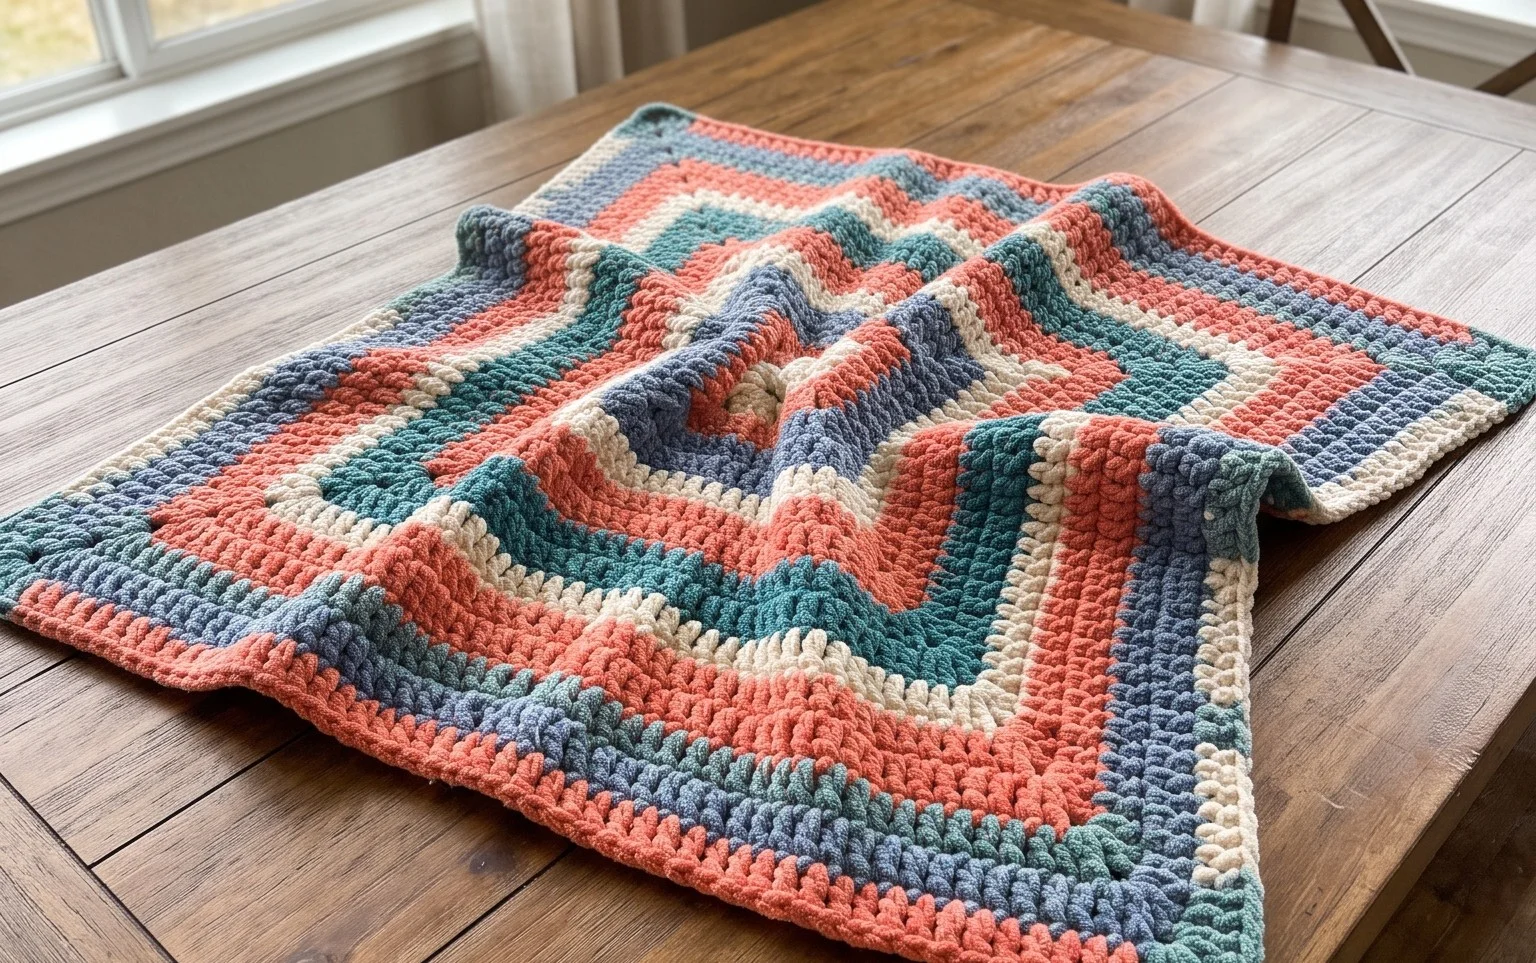
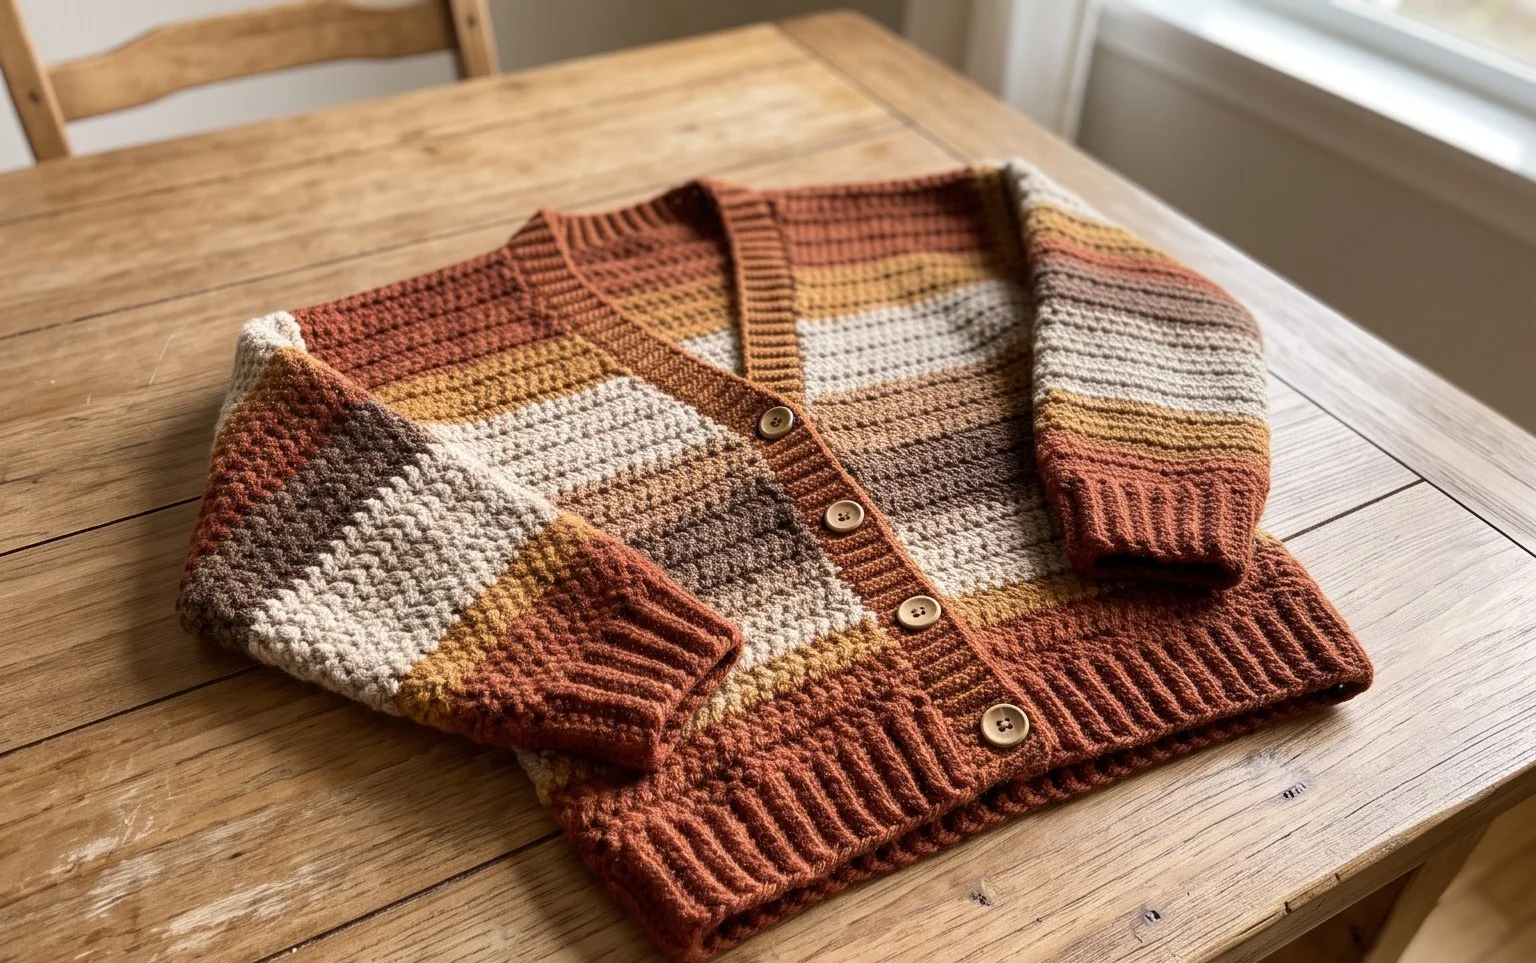
These thick cotton circles sit firmly on a side table and prevent condensation from marking wood finishes. Each one has a tight, clean structure that feels substantial under a heavy mug or a cold glass of lemonade. Beginners will find the rhythm of the rounds simple to pick up after the first few loops, while gift makers appreciate how fast they come together during a quiet evening. You will learn how to maintain a flat edge and manage consistent tension using basic increases. This project turns small leftovers into functional home items that actually last through daily use without losing their original shape.
Why You’ll Love This Pattern
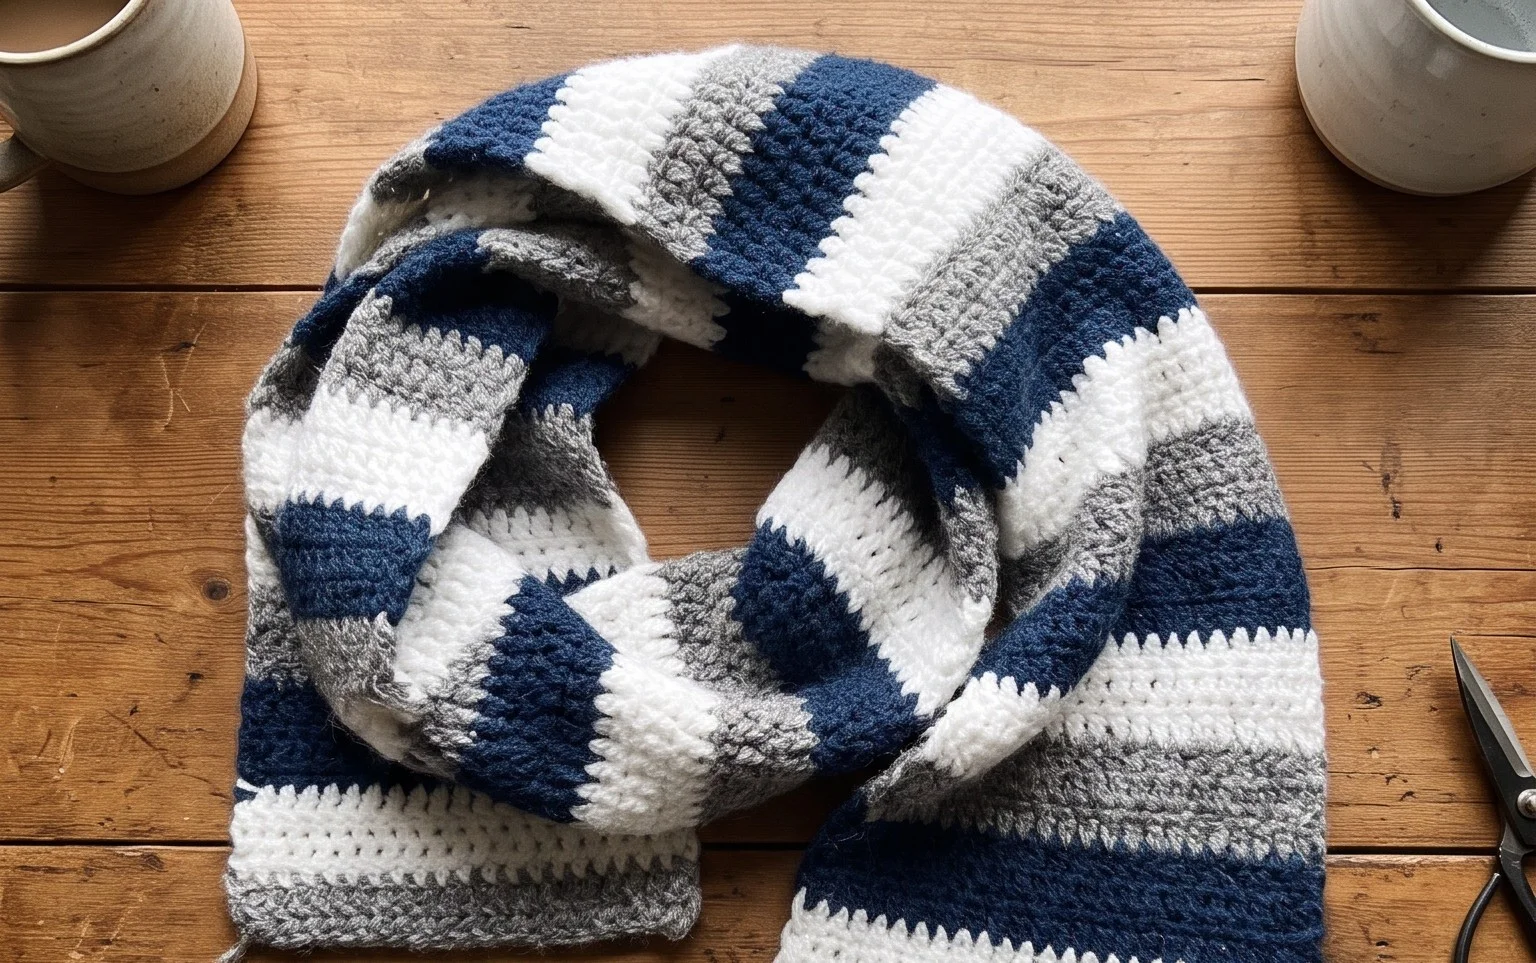
This beginner-friendly crochet coaster pattern provides a quick and satisfying way to practice circular construction without the commitment of a large project. Each coaster works up in under twenty minutes, making it an ideal choice for using up small amounts of cotton yarn leftover from bigger makes. The simple stitch repeat creates a dense, absorbent fabric that protects wood surfaces from moisture while adding a handmade touch to your coffee table. Because the pattern relies on basic increases, you can easily memorize the rhythm after the first two rounds.
I managed to whip up a full set of six coasters in one afternoon. The instructions are very clear and they lay perfectly flat without any curling.
— Sarah, home crafter
Pattern Overview & Skill Level
- Skill Level: Beginner
- Approximate Time: 15–20 minutes per coaster
- Construction: Worked in continuous rounds starting from a magic ring, finished with a slip stitch join
- Finished Dimensions & Sizing: Approximately 4 inches in diameter
Materials & Supplies Needed
- Yarn: Worsted weight (#4) 100% cotton yarn, approximately 15 yards per coaster. Cotton is necessary for heat resistance and absorbency.
- Hook Size: 5.0 mm (H-8)
- Notions: Tapestry needle for weaving in ends, a locking stitch marker to track the start of rounds, and scissors.
- Safe Yarn Substitutions: Acrylic yarn can be used for decorative purposes, though it will not absorb condensation as well as cotton and is not heat-safe for hot mugs. Using a lighter weight yarn will result in a smaller coaster, while a heavier yarn will require a larger hook to prevent the fabric from becoming too stiff.
Stitch Guide & Abbreviations (US Terms)
- MR = Magic ring
- ch = Chain stitch
- sc = Single crochet
- inc = Increase (work 2 sc into the same stitch)
- sl st = Slip stitch
- st(s) = Stitch(es)
Step-by-Step Pattern Instructions
Coaster Body
- Rnd 1: Start with a MR. Work 6 sc into the ring. Tighten the ring to close the center. (6 sts)
- Rnd 2: Work 2 sc in each st around. (12 sts)
- Rnd 3: 1 sc in next st, inc in next st repeat from * to * 6 times. (18 sts)
- Rnd 4: 1 sc in next 2 sts, inc in next st repeat from * to * 6 times. (24 sts)
- Rnd 5: 1 sc in next 3 sts, inc in next st repeat from * to * 6 times. (30 sts)
- Rnd 6: 1 sc in next 4 sts, inc in next st repeat from * to * 6 times. (36 sts)
Finishing
After completing Rnd 6, perform a final slip stitch into the next stitch to smooth the transition. Fasten off the yarn, leaving a 4-inch tail. Pull the tail through the final loop and use a tapestry needle to weave the end securely into the back of the coaster. Trim any excess yarn close to the surface of the work.
Care & Washing Instructions
- Machine wash in cold water on a gentle cycle using a mild detergent.
- Reshape the coaster while damp and lay it flat on a towel to air dry.
- Avoid using fabric softener, as it reduces the absorbency of the cotton fibers.
Pro Tips & Common Mistakes to Avoid
Maintaining consistent tension is the most important factor in ensuring your coaster lies flat rather than rippling or cupping. Use a stitch marker at the start of every round to keep track of your progress without counting every single stitch manually. If you notice your coaster beginning to cup, your tension might be too tight; try going up half a hook size. You can adjust the size of the finished coaster by adding more increase rounds, such as 1 sc in next 5 sts, inc in next st for Rnd 7, though this will increase the amount of yarn required.
Frequently Asked Questions
Can I use a different yarn weight for this pattern?
Yes, you can use DK or bulky weight yarn. However, keep in mind that the dimensions will change, and you will need to adjust your hook size to match the yarn manufacturer’s recommendation on the label to ensure the fabric remains tight enough to function as a coaster.
How do I prevent the center hole from opening up?
Pull the tail of your magic ring firmly after completing the first round of stitches. You can also secure the tail by weaving it back and forth through the base of the stitches on the wrong side of the coaster to lock it in place.
Is this pattern suitable for complete beginners?
This is an excellent project for beginners because it focuses on the fundamental skill of working in the round. It helps you understand how increasing by 6 stitches each round creates a flat circle, which is the foundation for many amigurumi and hat patterns.
Am I allowed to sell coasters made from this pattern?
You are welcome to sell finished items created from this pattern. Please provide credit to the designer whenever possible, but do not sell or redistribute the written instructions themselves.
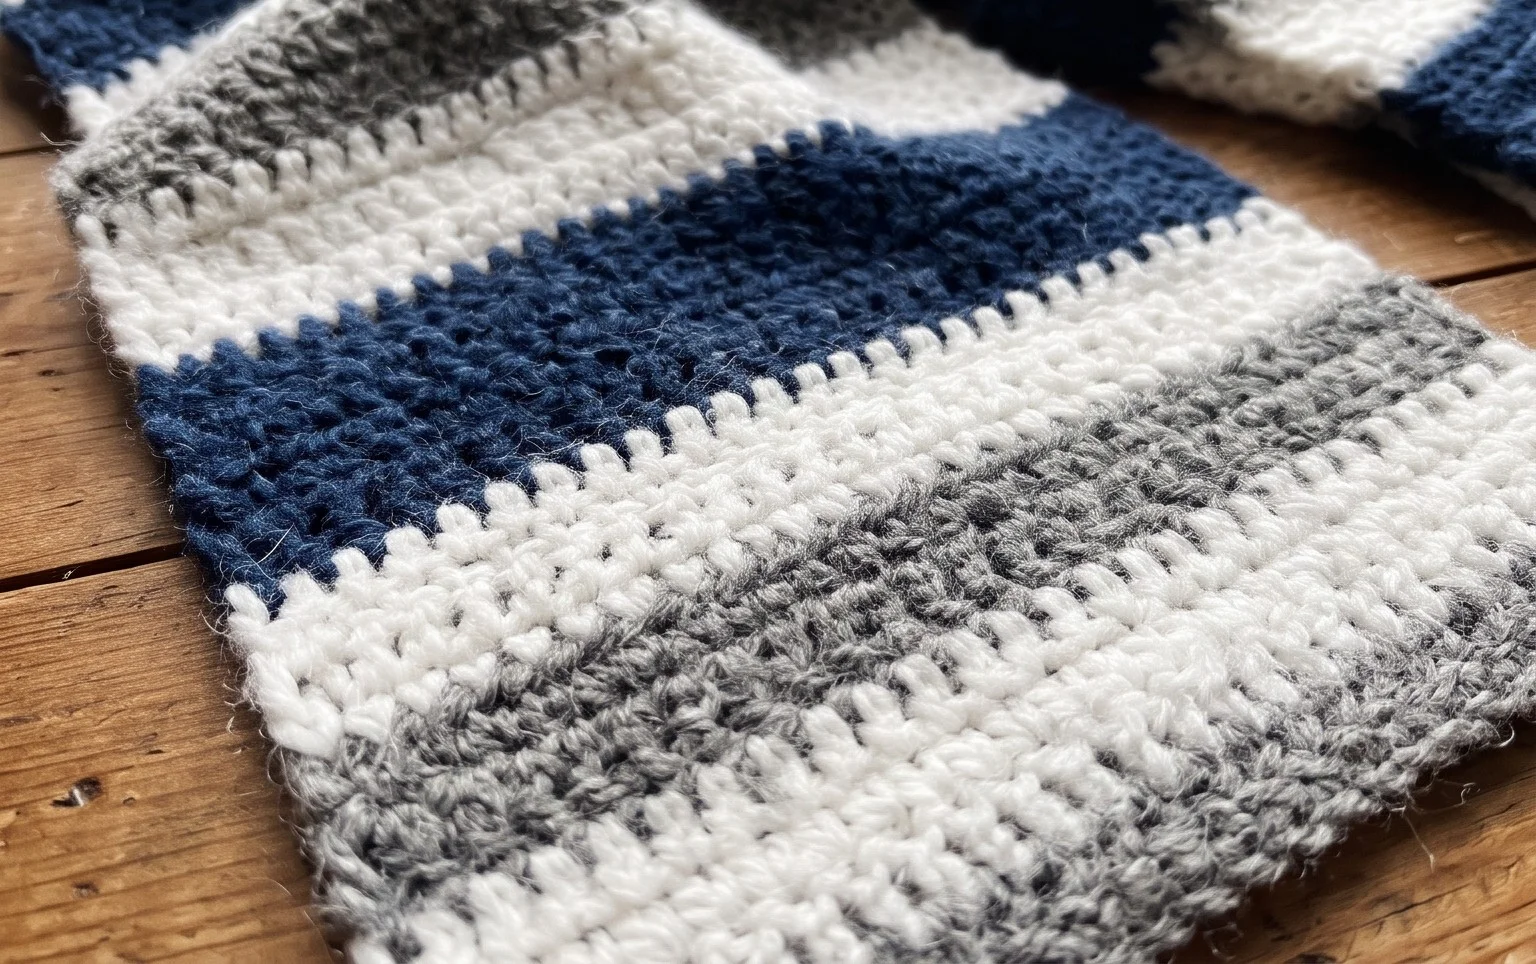
You now have a durable stack of coasters ready to protect your furniture from every morning cup of coffee. Changing the color scheme to match your seasonal decor or using a variegated yarn can transform how these look on your dining table. If you enjoyed the process, share a photo of your finished coasters on social media so others can see your color choices. Head back to the main blog page to find more simple projects that help you practice new stitches while building a collection of useful handmade goods for your home.