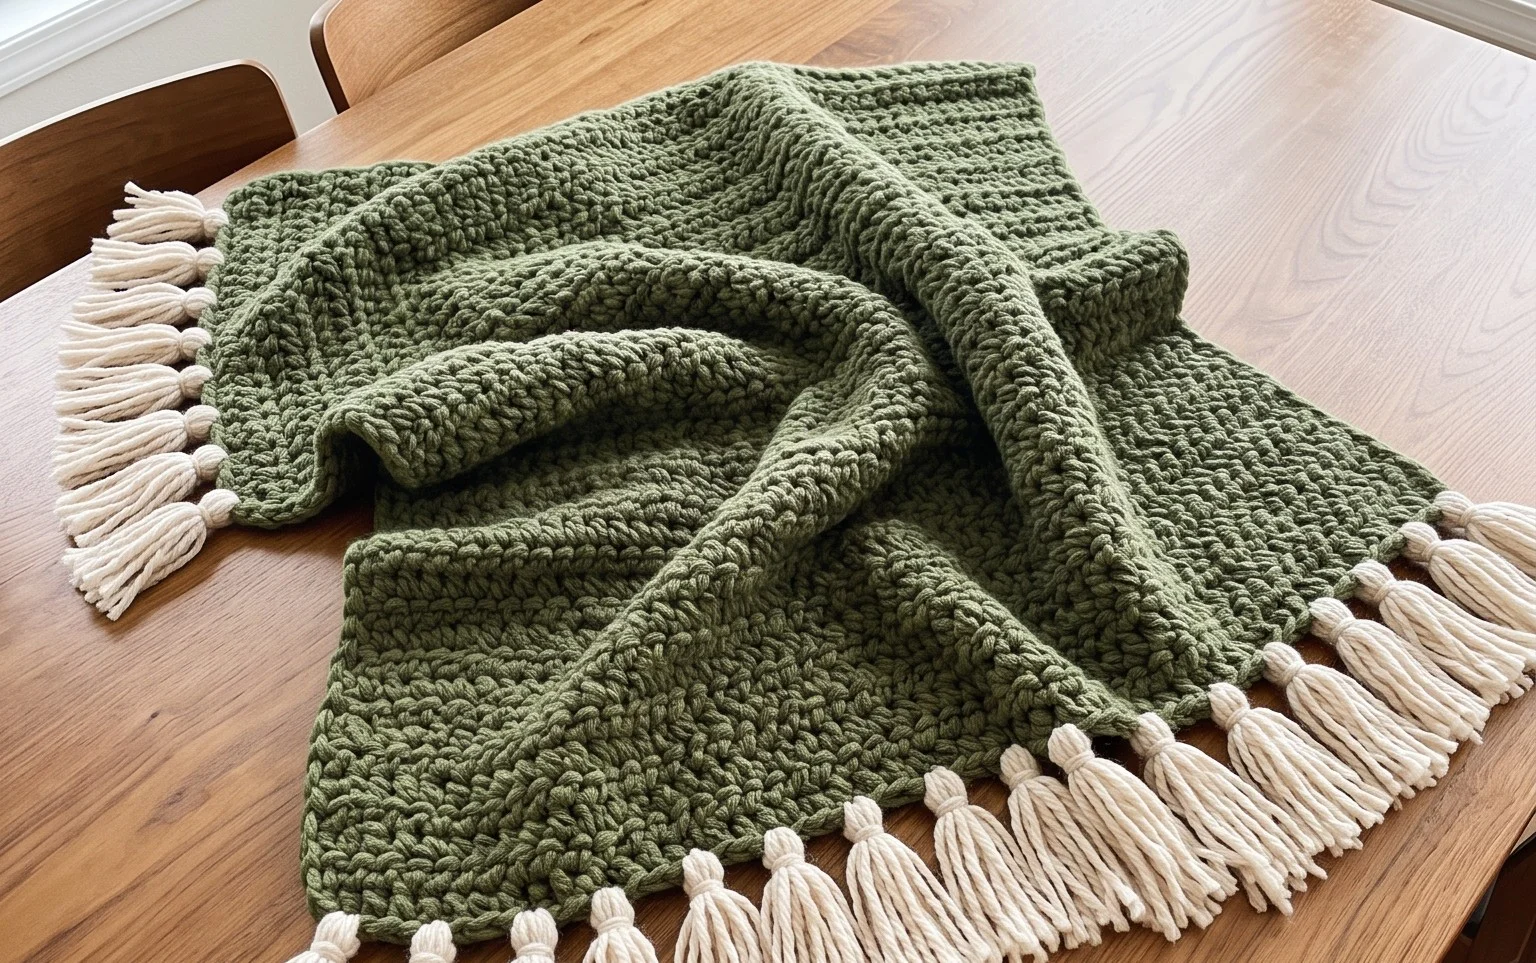
Easy Crochet Headband: Free Beginner Pattern for Gifts
Soft worsted yarn pressed against your ears provides immediate relief on a brisk morning commute. This headband creates a thick, cozy barrier against the wind while remaining flexible enough to stay in place during a long walk. Beginners will enjoy how quickly the repetitive rows grow, transforming simple chains into a structural piece that looks finished and professional. Working in the back loops only gives the fabric a distinct, stretchy ribbed texture that mimics expensive knitwear. You will spend minimal time on counting stitches and maximum time enjoying the rhythmic motion of your hook, making this the go-to project for handmade gifts.
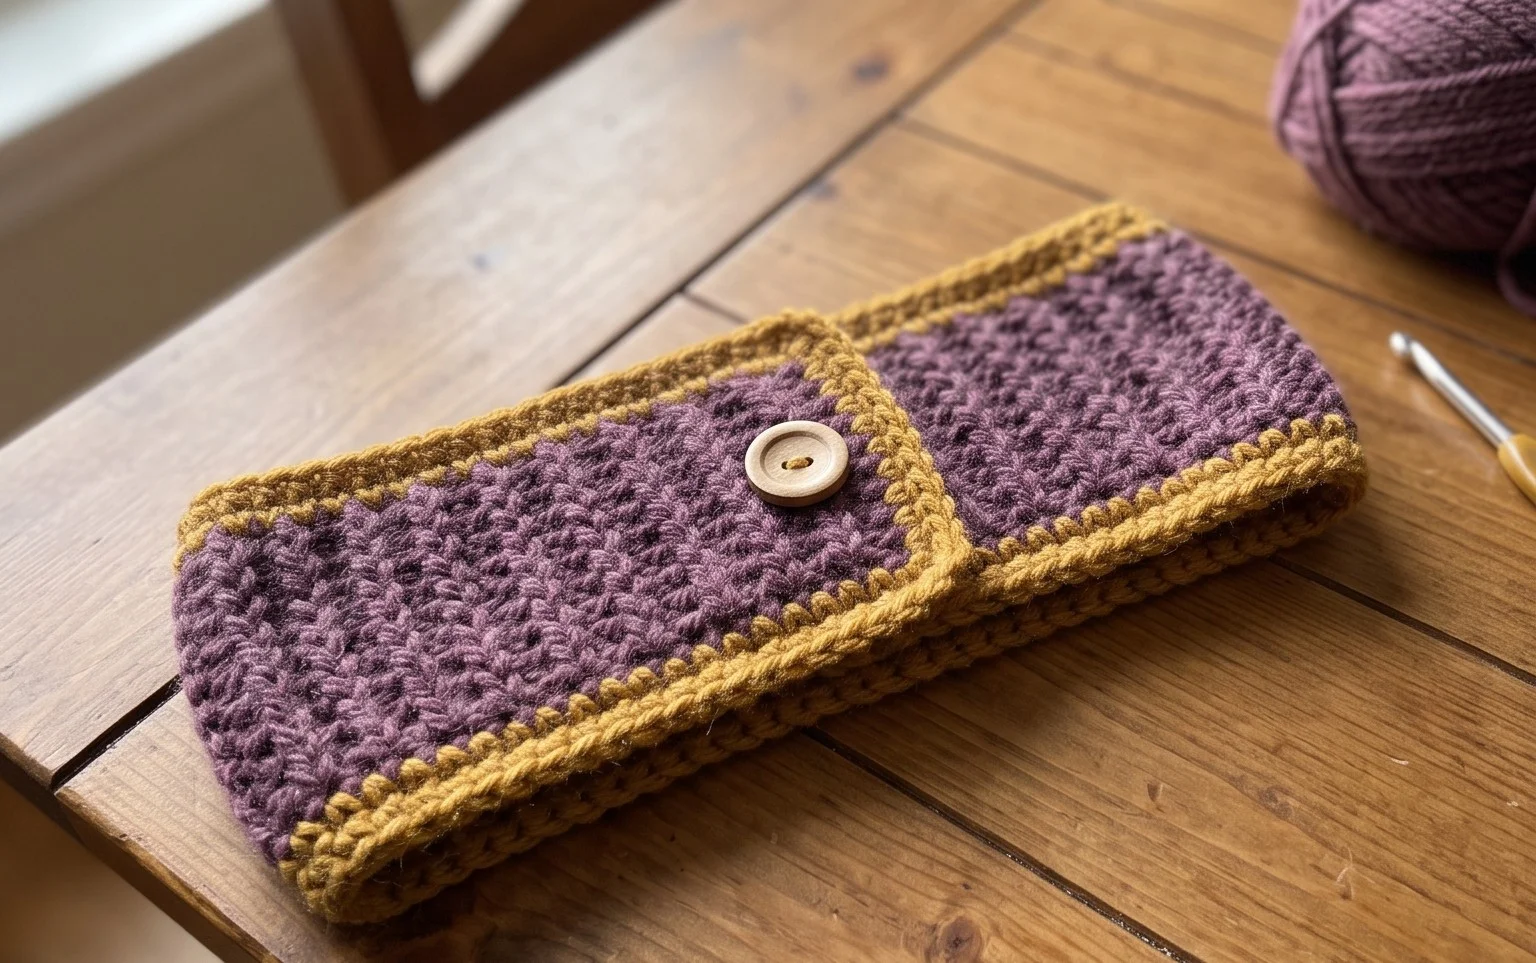
Why You’ll Love This Pattern
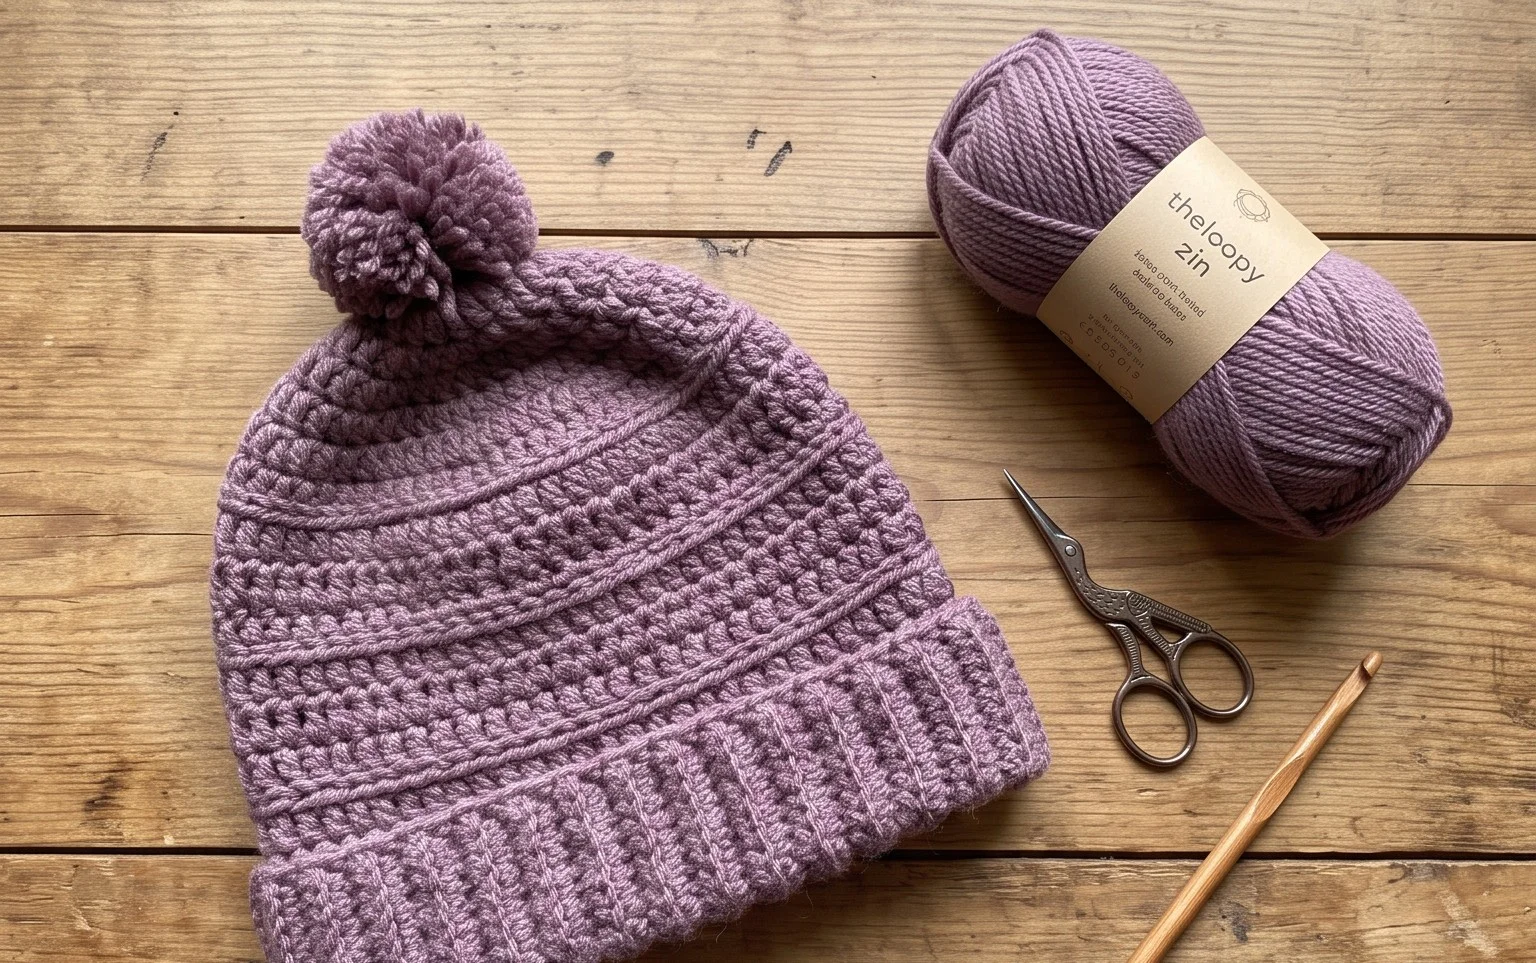
This crochet ribbed beanie pattern utilizes a simple back-loop-only technique that creates a professional, store-bought look with minimal effort. You work the hat as a flat rectangle, which removes the need for complex shaping or counting stitches in the round. The squishy texture provides excellent warmth for winter wear while maintaining enough elasticity to fit various head sizes comfortably. Beginners appreciate the lack of increases and decreases, making it a reliable project for practicing even tension across a long row.
I finished this hat in one evening while watching a movie. The texture is incredibly soft and the fit is perfect for my daughter.
— Sarah, hobbyist crafter
Pattern Overview & Skill Level
- Skill Level: Beginner
- Approximate Time: 3 to 4 hours
- Construction: Worked flat in rows as a rectangle and seamed to create a tube.
- Finished Dimensions & Sizing: 9 inches wide by 11 inches tall (unfolded), fits average adult head sizes 21–23 inches in circumference.
Materials & Supplies Needed
- Yarn: Worsted weight (#4), wool or acrylic blend, approximately 200 yards.
- Hook Size: 5.5 mm (US I-9).
- Notions: Yarn needle for weaving in ends, large-eye sewing needle for seaming, stitch markers, optional faux fur pom-pom.
- Safe yarn substitutions: Any medium-weight yarn labeled #4 will work. Using a 100% cotton yarn will result in a heavier, less stretchy hat, while 100% wool will provide more natural warmth and memory.
Stitch Guide & Abbreviations (US Terms)
- ch: chain
- st/sts: stitch/stitches
- sl st: slip stitch
- BLO: back loop only. Instead of inserting the hook under both top loops of the stitch, insert it only under the back loop. This creates the signature ribbed texture.
- HDC: half double crochet. Yarn over, insert hook in st, yarn over, pull up a loop, yarn over, pull through all three loops on hook.
Step-by-Step Pattern Instructions
Hat Body
- Row 1: Ch 41. HDC in the second ch from hook and each ch across. (40 sts)
- Row 2: Ch 1, turn. HDC in the BLO of each st across. (40 sts)
- Rows 3-60: Repeat Row 2 until the piece measures approximately 18 inches in length when laid flat.
- Fastening off: Leave a long yarn tail of at least 15 inches for seaming the side and closing the crown.
Assembly
- Seaming the side: Fold the rectangle in half so the short edges meet. Using your tapestry needle and the long tail, whip stitch the two short edges together to form a tube.
- Closing the crown: Weave the yarn tail in and out of the stitches along one of the open ends of the tube. Pull the yarn tight to cinch the top closed. Secure with a few stitches through the center and tie a knot on the inside.
- Finishing: Turn the hat right side out so the seam is hidden on the inside. Weave in all loose ends securely. Attach a pom-pom to the crown if desired.
Care & Washing Instructions
- Hand wash in cool water with a mild wool-safe detergent to maintain fiber elasticity.
- Lay flat on a clean towel to air dry, avoiding direct heat sources or sunlight which can shrink or fade the yarn.
- Do not wring or twist the item; gently press out excess moisture and reshape the hat while damp.
Pro Tips & Common Mistakes to Avoid
- Consistent Tension: Keep your slip stitches at the end of rows loose. If your edges pull inward, the hat will not be a perfect rectangle and the seam will pucker.
- Stitch Counting: Count your stitches after every row. It is common for beginners to accidentally skip the last stitch of a row, which will lead to a triangle shape rather than a rectangle.
- Invisible Seaming: When sewing the side seam, use a mattress stitch rather than a standard whip stitch for a cleaner, flatter join that is barely visible against the ribs.
- Sizing Adjustment: To make the hat wider or longer, simply add or subtract chains at the start. Adding chains increases the height of the hat; adding more rows increases the circumference. Note that this will change the total yardage needed.
Frequently Asked Questions
Can I use a larger hook for this pattern?
Yes, using a larger hook will create a looser, drape-heavy fabric. This will increase the overall dimensions of the hat, so you may need to reduce your starting chain count if you do not want a slouchy fit.
How do I know if the hat will fit correctly?
The hat should measure about 2 inches smaller than your head circumference to ensure a snug fit. Since this pattern uses half double crochet in the back loop, the fabric has significant horizontal stretch.
Can I sell the hats I make from this pattern?
You are welcome to sell finished items made from this design. Please credit the pattern designer in your listing or tags to help others find the source.
Is this project suitable for a complete beginner?
This is an excellent project for a beginner because it requires only one basic stitch, the half double crochet. As long as you can maintain a consistent row count and keep your edges straight, you will succeed.
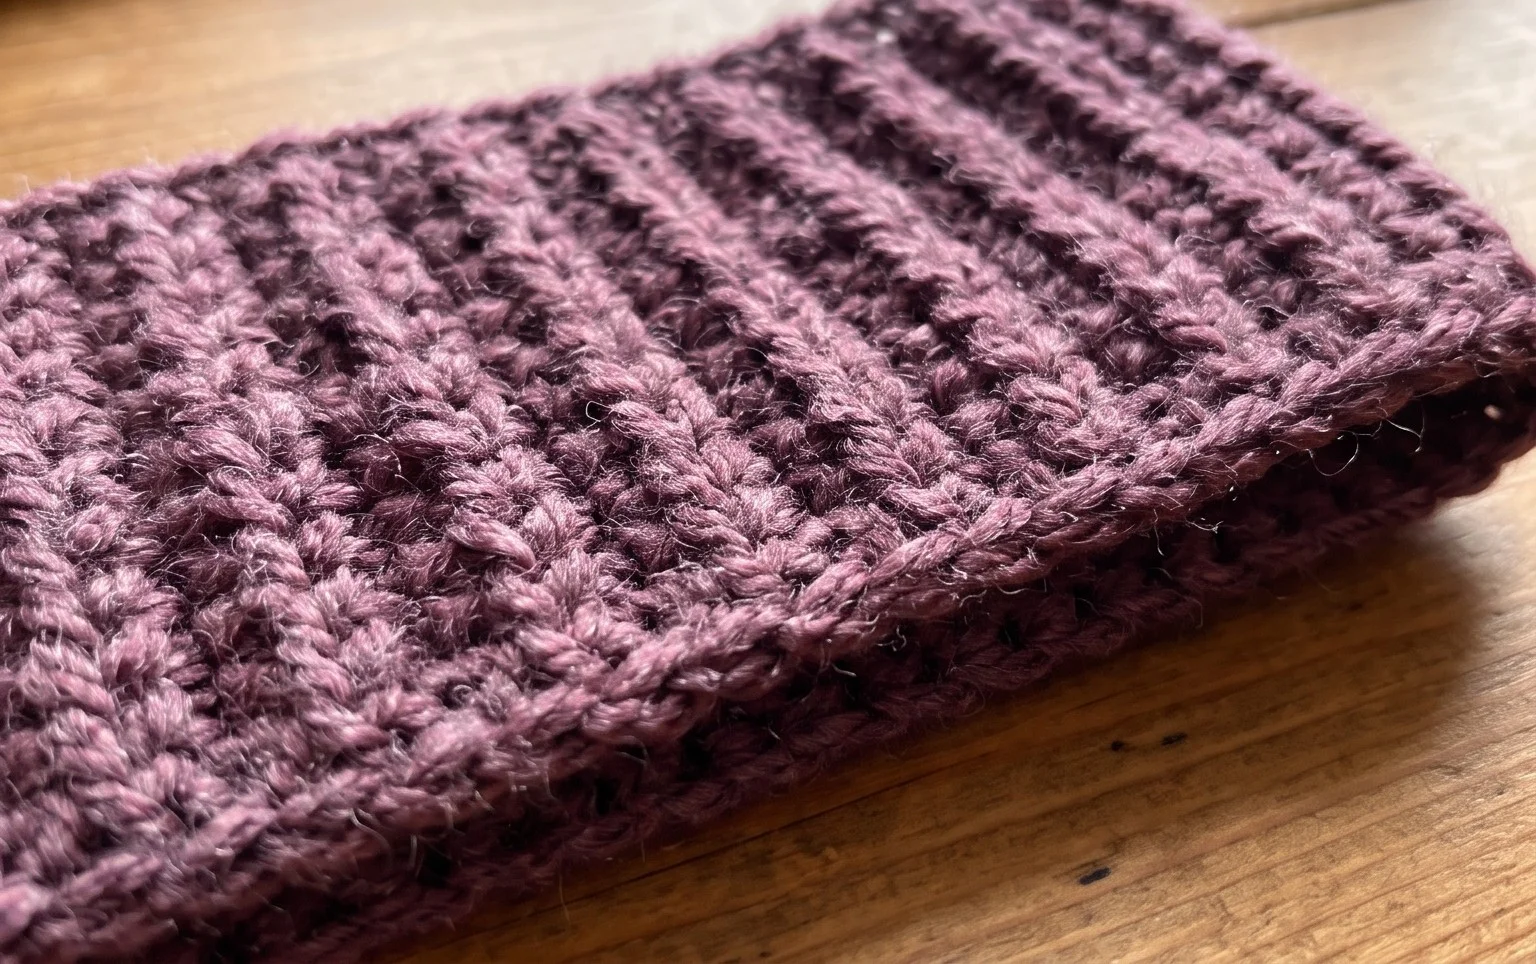
Holding a finished accessory you crafted yourself provides a sense of accomplishment that store-bought items simply cannot replicate. You can easily modify the look by switching to a variegated yarn for a playful stripe effect or adding a large wooden button to the seam for a rustic finish. Please share a photo of your completed project on social media so others can see your color choices. Browse the rest of the blog for more free patterns to fill your handmade wardrobe throughout the year.